
NSTabViewについて
2018-04-19
はい、どうも、氷翠です。
さて今回はタブをショートカットで切り替える実験。
ということで、早速。
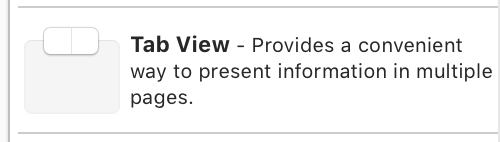
これ。
このコポーネンとを利用します。
おもったより画像がでかいなw
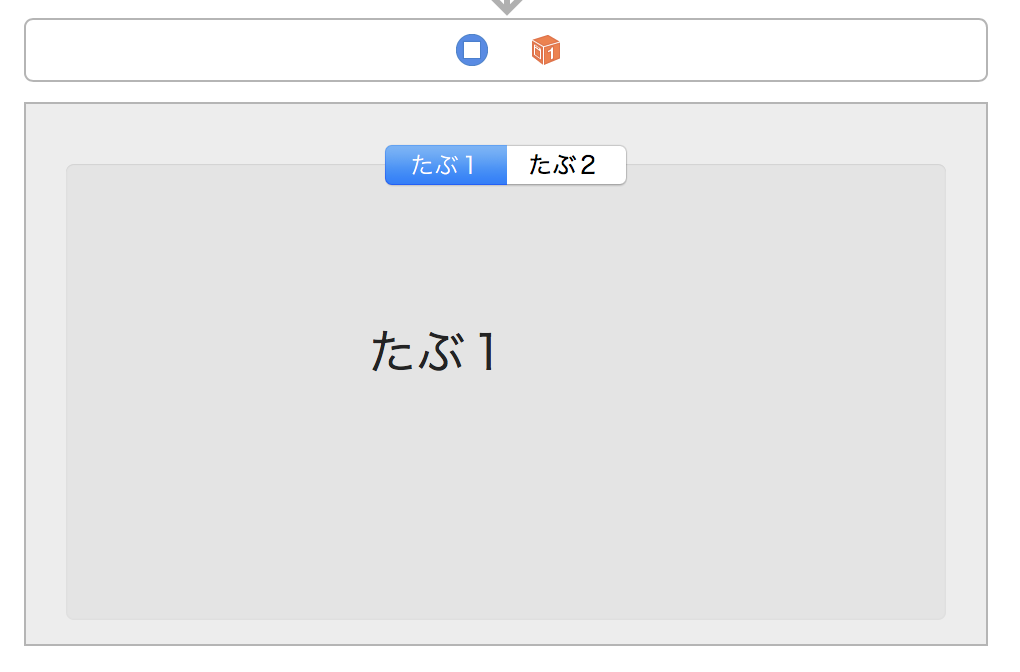
ということでこんな感じのタブ。
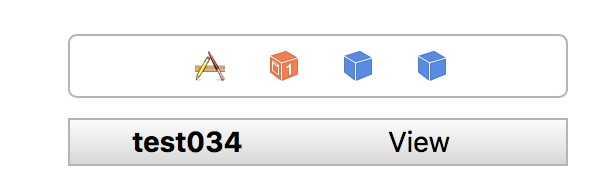
メニューもこんな感じで余計なものをすべて削除。
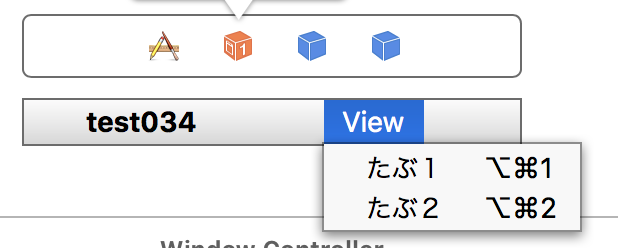
こんな感じでショートカットも設定。
ではプログラムに入るわけだが、まずappDelegateに関数を用意します。
import Cocoa

@NSApplicationMain
class AppDelegate: NSObject, NSApplicationDelegate {

    var viewController: ViewController!

    func applicationDidFinishLaunching(_ aNotification: Notification) {
        // Insert code here to initialize your application
    }

    func applicationWillTerminate(_ aNotification: Notification) {
        // Insert code here to tear down your application
    }

    @IBAction func tabChange(_ m: NSMenuItem) {
        // タブを切り替える関数を呼び出す
        viewController.tabChange_b(tabNumber: m.tag)
    }

}
これだけなんですけど!
appDelegateの中でviewcontrollerの中の関数を呼び出すための処理を置いておく。
import Cocoa

class ViewController: NSViewController {

    @IBOutlet weak var tabV: NSTabView!

    override func viewDidLoad() {
        super.viewDidLoad()

        // Do any additional setup after loading the view.
        let appDelegate:AppDelegate = NSApplication.shared.delegate as! AppDelegate
        appDelegate.viewController = self
    }

    override var representedObject: Any? {
        didSet {
        // Update the view, if already loaded.
        }
    }

    func tabChange_b(tabNumber: Int) -> Void {
        let t = tabV.tabViewItem(at: tabNumber)
        tabV.selectTabViewItem(t)
    }
}
とりあえず、NSTabViewをコントロールするため、そのための変数を用意する。
で、viewDidLoadの関数の中にappDelegateを呼び出す処理をしておく。
最後に関数として「tabChange_b」という関数を作った。そこにインターフェースビルダーで繋いでおく。
その中の2行目の部分で「selectTabViewItem」がアクティブにするもののようだ。
これでショートカットによるアクティブ化が完成だ。
コメントを残す